post feeds post comments feeds rss email feeds twitter updates

Woodshop Electrical – Considerations for a Shop Subpanel

In my previous article, Wiring Up Your Shop, I mentioned that I eventually wanted to put in a subpanel, but I didn’t feel like messing that deeply into electrical work.

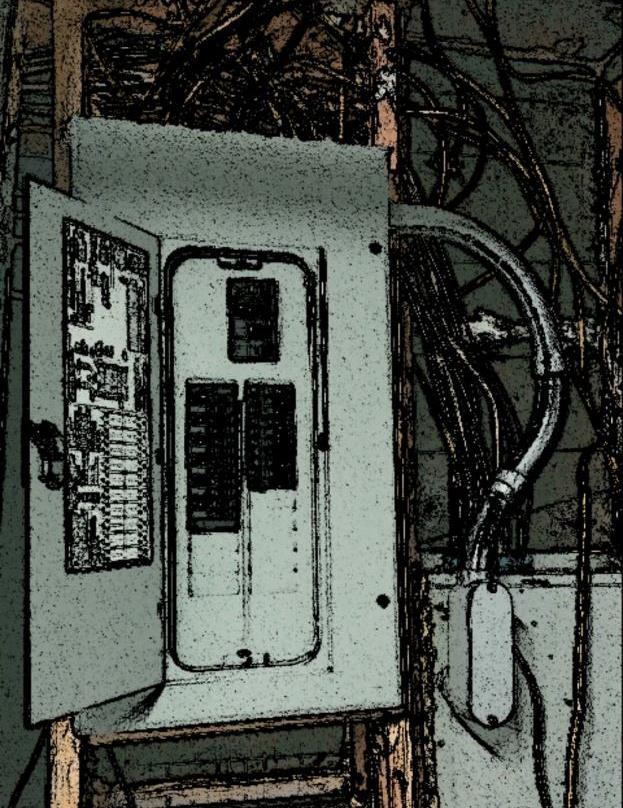
Well, now I kinda need to. I’ve got a bunch of 240V circuits that I need, and with my ideal shop layout, I just can’t have one breaker.

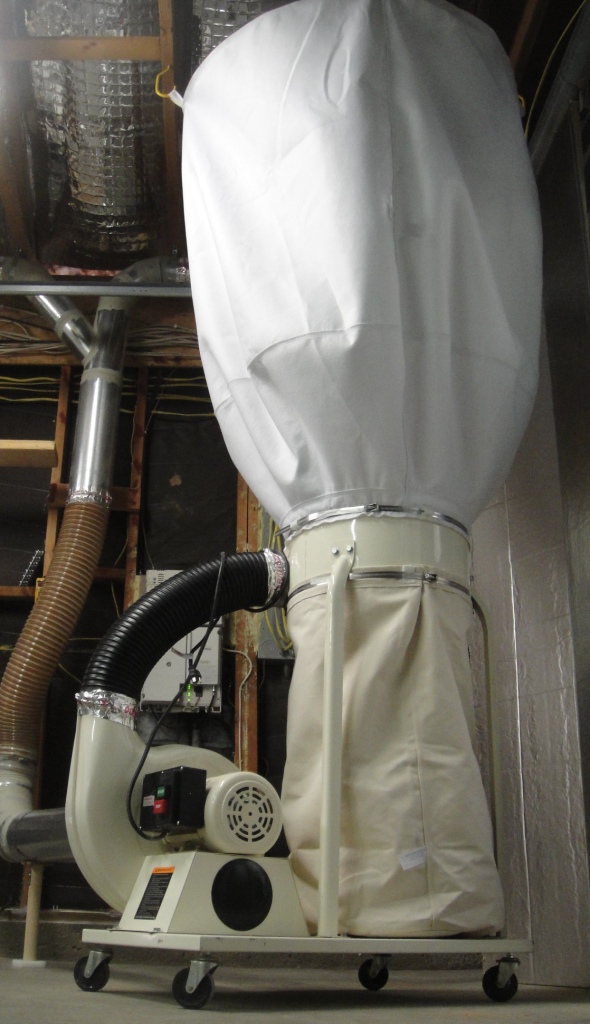
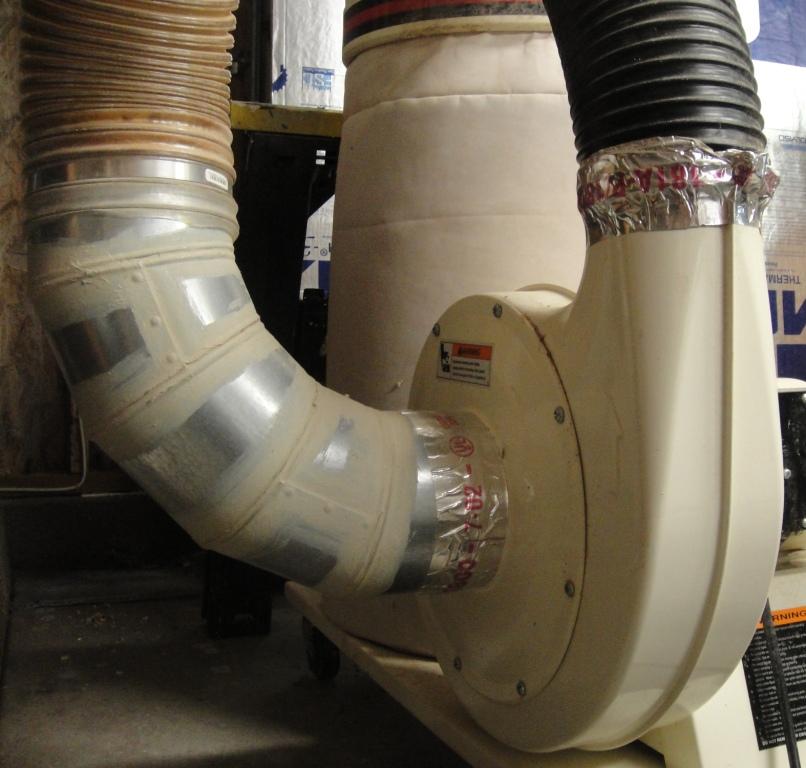
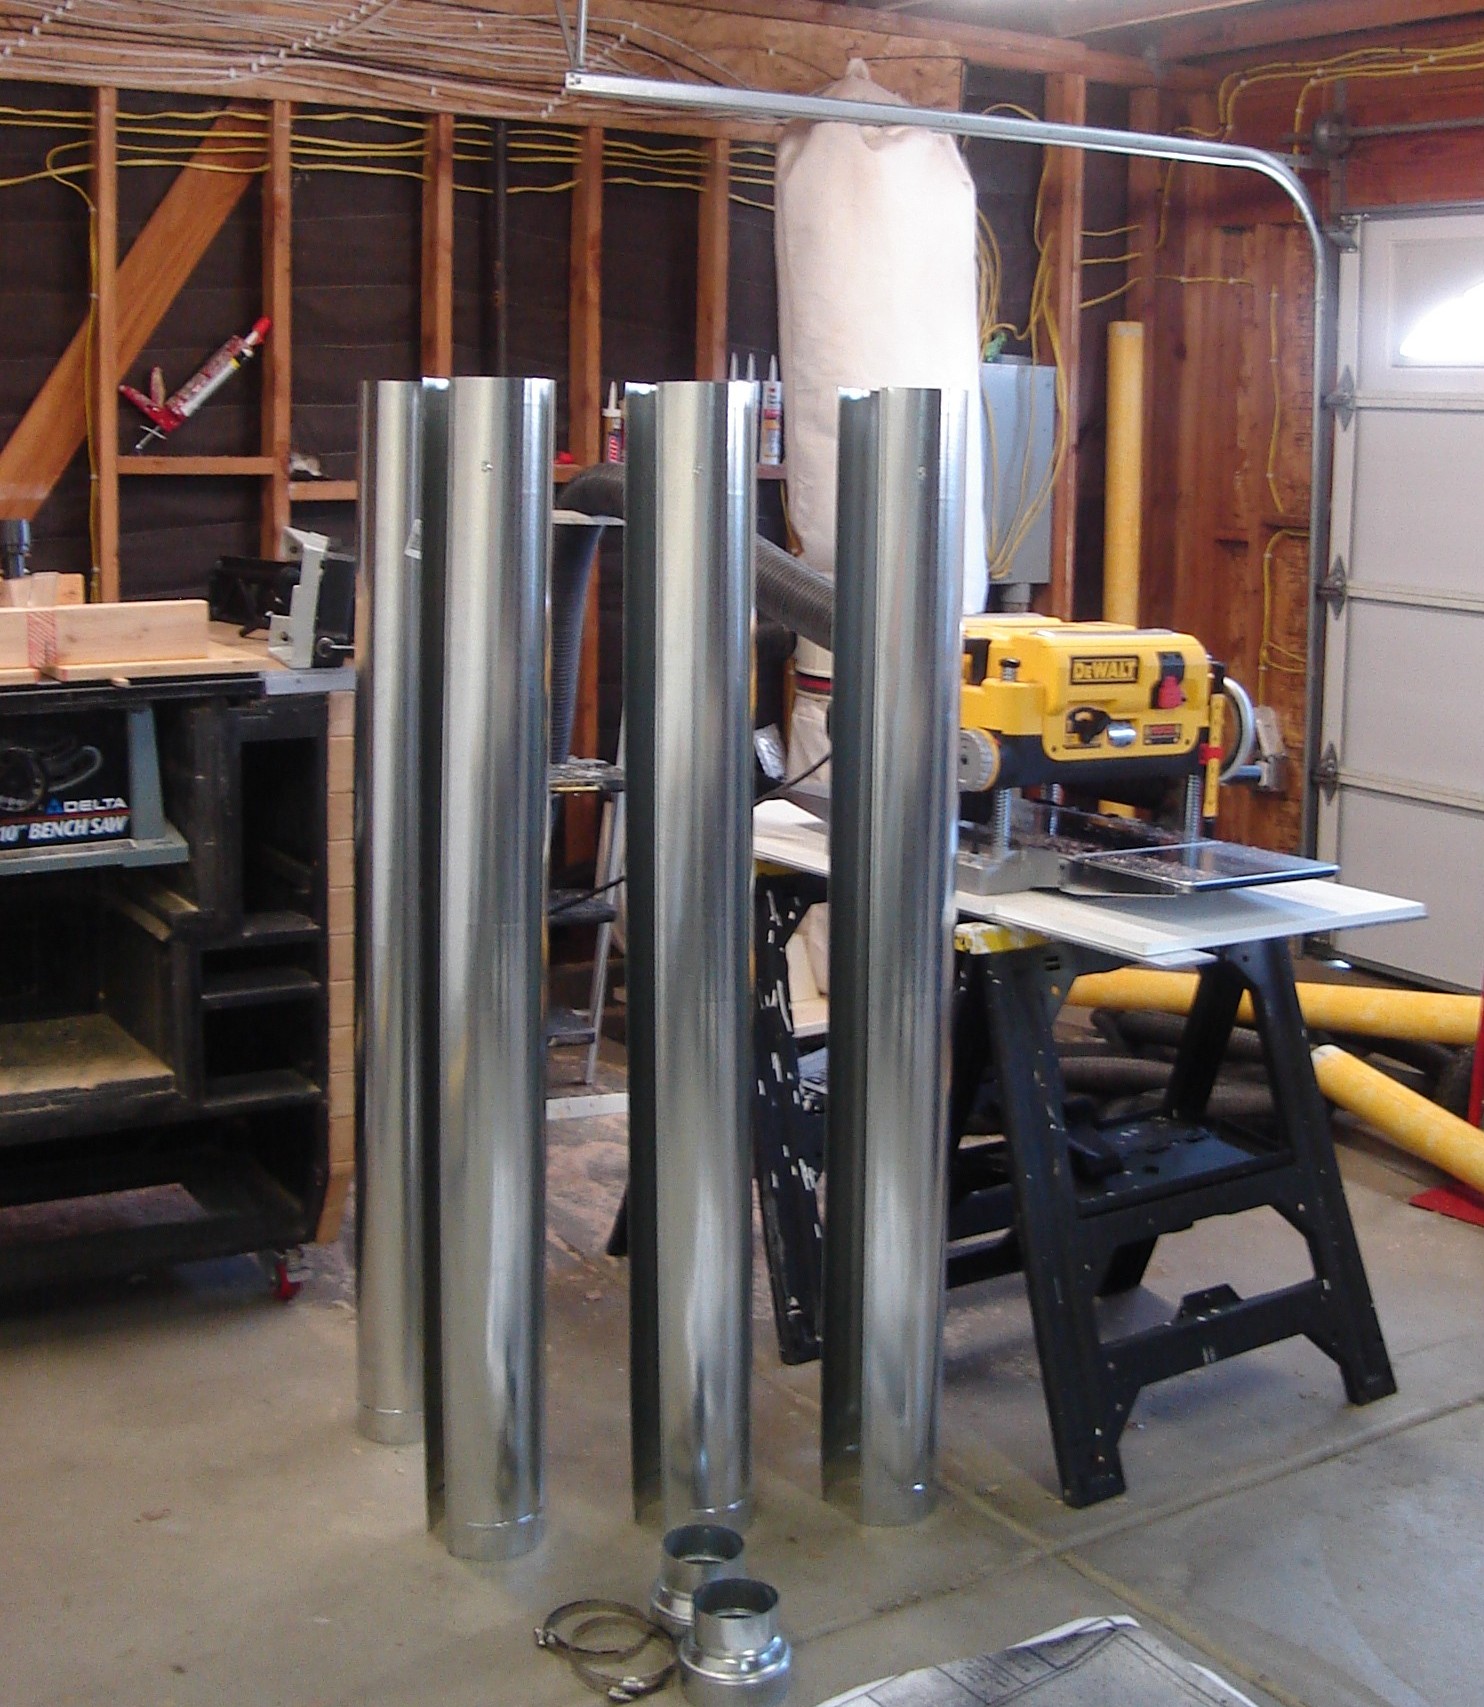
Previously I had re-wired my Table Saw, Jointer, and Drum Sander with a longer power cord. I ran these along the dust collection flex hose up to the ceiling, and then to a common 240V outlet.

Since I used these tools one at a time, all was fine. But my Drum Sander really belongs on the other side of the shop, so now I need at least two 240V outlets. I don’t want to put two 240V outlets on one circuit, but I don’t have any more room in my Main House Panel.

Dust Collection System Layout ‘Strategeries’

What to Think About When Doing Your Dust Collection Design

In my first shop, which was my apartment bedroom, I had no dust collection except for vacuuming afterwards. This sucked. Literally. Imagine…cutting boards and then leaving the room, closing the door, and waiting for the dust to settle. It wasn’t a good way to encourage more shop time.

So let’s assume you want some sort of dust collection system…even if just eventually.

Dust Collection Ductwork and Fittings Done Right

“Installing a permanent dust collection system is too hard so I just use flex duct and connect it to the machine I’m using”. Sound familiar? Well that’s how a lot of woodworkers think, not feeling like an HVAC expert or very interested in dealing with sheet metal ductwork. But I bet you’d like to have a dream dust collection system in your woodshop.

How to Get Production Results and Help Your Workshop Layout

How to Make a Mobile Panel Max Stand to Get Production Results from Your Woodshop Design. Not having enough clamps is kind of a woodworking running joke, but it’s annoyingly true way too often.

Think about the last time you glued 5 boards together edge to edge. You may have used 4 or 5 parallel cabinet clamps, then some small mini-bar clamps or C-clamps to make sure the edges align and the boards dry flat.

If you’re doing a batch of those, you’ll quickly run out of clamps, and that means waiting hours for the first batch to dry (which is why I like to have several projects running in parallel to occupy that time wisely).

How to Make Your Own Workshop Garage Door Insulation

“But my garage door is already insulated! It came that way!” Well, not like this! My workshop garage door came pre-insulated with some fiberboard with a plastic coating behind the metal panels, like only ¾”. But, during the summer, the heat comes right through in the afternoon since it’s facing west. The fiberboard is just not enough to stop the heat from the metal panels. It does help slightly with noise.

In previous articles about your shop’s comfort, I emphasized the use of radiant barriers to keep your shop cool. You see, when your walls, roof, and doors heat up during the day, they give that heat back to you in the form of radiation. Not nuclear exactly, but heat. If you go into your attic, and put your hand near the roof sheathing during the summer, you’ll feel the radiant heat without even touching it. This radiation heats up all the objects around it, and thus your whole woodshop. That’s why you start sweating when you step into your hot garage in the summer.

My New Dust Collection Filter Bags Arrived!

How to Get True Set-it-and-Forget-it Filtration for Your Dust Collector.

In the previous post, I told you about how I thought my dust collection system was good enough and kept workstations clean, until I noticed a layer of fine dust all over the dust collector and the surrounding area. This made me realize that while the system is picking up fine dust, it’s also spraying it all over the shop.

Fine dust stays suspended in the air and moves around at even low air speeds so for sure it’s making its way back to my nose.

I decided to dig even deeper into my own system, and make it more like systems I’ve designed for larger shops. There is a balance of cost and performance, but if you make the right choices you can get a kick-butt system for relatively low cost, and upgrade in the future as your funds allow.

It’s not often you think about your dust collector filter, but without a good one you aren’t accomplishing what your dust collection system is entirely meant for: dust extraction and containment

Does your Dust Collector Filter Bag Spray Fine Dust Up Your Nose?

I thought my dust collector worked pretty well until I was emptying the lower dust bag and noticed something. It makes total sense, but I just didn’t really think about it before.

I’ve always had the ultimate dust collection system as my goal, and have several improvements on my list. Enlarging the dust ports from 4” to 6” on my jointer, making a dust extraction blade guard for my table saw, and increasing the duct drop size to my drum sander are the main ones. But now I’ve started to rethink the “back end” of the system woodworkers don’t normally worry about.

Garage Shop Convenience Outside!

Just like with building a house, there are things to do to the exterior of your garage shop to give you the day-to-day convenience you crave.

You also don’t want to be surprised by all the things that will affect the exterior walls of your shop, like air conditioner refrigerant line penetrations, louvers, exterior light fixtures, and conduit to power outbuildings for lumber storage. All of those things need to be waterproofed, but the good news is you can draw those details when you plan your wall layers.

If you include the things mentioned below in your overall woodshop design plan, it’ll be easy. Do your thinking now, and the whole process can be done assembly-line style

How I’m Soundproofing My Shop Part II

In the last post, How I’m Soundproofing My Shop Part I, I explained how I break down my sound abatement strategy to both limit the sound coming from my tools and limit the sound allowed to escape the shop to bother others.

I just categorized the approach like this:

How I’m Soundproofing My Shop Part I

I’m particularly sensitive to shop noise because I had several neighbors near my shop. Below me and next door to my apartment bedroom shop.

For the most part, I restricted my woodworking to when my neighbors weren’t home, either during lunch or when they went out somewhere.

I got creative with sound-attenuating strategies so if I made a few quick power-tool cuts, it wouldn’t be as bad. I swore that when I built my ultimate shop, I’d incorporate quite insane soundproofing so that I could do whatever I wanted in complete freedom.

Soundproofing your woodshop is vital to maximizing your freedom. Imagine if you could do woodworking anytime–late night or early morning without fear!

Design the Bottlenecks Out of your Woodshop Workflow

Think of your daily workflow in your shop like a highway system—eliminate the bottlenecks and you’ll experience what workflow implies: continuous progress.

You step into the shop with the intention of getting something pretty specific done. Ever wonder why it took three times as long as you thought? You guessed it, unexpended speedbumps.

You can continue to encounter them, spend time dealing with them as you go, then move on. Of course, you’ll re-discover them the next day or next week.

I find that most of these “bottlenecks” in my workflow are recurring, and can be designed out of my shop.

Interruptions in your pre-planned sequences also mean interruptions in thought, which leads to frustrating mistakes.

How to Organize Your Thoughts on Woodshop Storage

There’s more to storage than plopping stuff on shelves in a particular order. If I have all of my oil finishes together doesn’t mean my shop flows well. Thinking more “big picture”, or strategically, about your shop storage will sync with the woodshop layout you worked so hard to get perfect.

After all, what good is ergonomically arranging all of your tools if you have to traipse across the shop just to get a marking gauge?

Take a minute here and let me comb your mind towards having the same consistent philosophy for workshop storage as you do your woodshop’s layout.

There’s Nothing Wrong with What You Bought 5 Years Ago

If you have something that already works for you, think carefully before buying the next big thing.

If you have something that works well for you, but you see they have a new gizmo out, what do you do with the old one? Could you have spent the money to gain a new capability you didn’t have before?

I like to stay with what’s already working for me, unless it will revolutionize the way I do things. Now, there are things that need an upgrade that aren’t working well for me, but if I’m fine with what I have, then I can allocate those resources elsewhere.

The Top Ten Things You Can Do To Whip Your Shop into Shape

You’ll need a functional shop to create the things you want for a Dream Shop.

To build your dream shop, you kind of need a functional shop first. That’s what trips a lot of people up; they don’t know where to start with their existing shop. I solved that problem by creating a highly functional “temporary” shop that many would consider their permanent shop. That’s what I’m using now to create all the things I need to realize my design

The 3-Step System for NEVER Running Out of Shop Supplies

Not too many things are more frustrating than running out of supplies in the middle of a project.

Think about the interruption in workflow it causes. Having to stop what you’re doing and jump in the car to pick up supplies to continue building. Once you get out of the groove of being in the shop, there’s a good chance that with all of life’s distractions you won’t.

What if you ran out of something and suddenly a magic owl swooped down and dropped you some more fasteners or foam brushes?

AWFS Fair: The Top 10 Killer New Things You Can Apply To Your Shop Now

The things I learn from going to the AWFS Fair in Las Vegas always rockets my woodshop to a new level.

I had been going to the various woodworking shows that are geared toward hobbyists and small business shops for years. But when I first went to AWFS, I was totally stunned by what was out there and in use every day in industrial woodworking shops. I had only been exposed to the hobbyist-level tool catalogs, so my view of what I could do to my shop was limited. I felt like a caveman entering the Jetson’s house…

Time Focus for Woodworkers: How to Allocate Your Energy

I have time. You have time. 24 hours a day. We all do (if we’re alive). We all have the same 24 hours available. So why are some people happier and able to do more than others? Largely it’s due to how they’re using their available time, and when during their mental and physical energy cycles they’re doing specific types of things. Huh?

Ok, it’s pretty simple really, but it’s all in how you think about it. Let me comb your mind in the right direction and you’ll make much better use of your day by matching what you do with what you’re better able to do at the moment…

Woodshop Order of Construction: The Ultimate Guide to Prioritizing Your Shop Build

How to prioritize and decide what to build first for your workshop improvements or your new shop from scratch.

You’ve got page after page listing all the things you want for your shop redesign. But do you know exactly what you’ll work on first? Do you buy that router table fence first? Nope, it probably won’t be used until you build your router table. Insulate your walls since it’s hot out today? Nope, you probably should run your electrical wire beforehand. I didn’t find it too hard, but it does take a session of thinking and writing, just like how you’d approach any creative project.

Below is my strategy for prioritizing and organizing your Order of Construction for the woodshop…

Secrets to Easy Roof Improvements with Ludicrous Benefits to You

Wanna do something pretty easy that’ll allow you to double your shop time?

Seal up your workshop and blanket it with the right layers, you’ll pretty much be able to go out there without fear of being uncomfortable.

What you want to do first is define the boundaries of your shop’s envelope. In other words, what is the inside of your shop? Ceiling, Walls, Doors, Windows, Floor. This boundary is your protection from heat, cold, sound, bugs, and moisture.

What To Do With Those Bare Walls

You’d probably rather be cutting tenons or curves on the bandsaw, but something you’re overlooking is right in front of you. Those bare shop walls. Whether it’s concrete block or un-insulated wood framing, it’s letting in the hot summer radiant energy and letting out your expensive heat in the winter. And, if it’s wood framing with empty stud bays, there is nothing stopping your loud tool noise from annoying the neighbors or the people inside your house.

If you could get your shop envelope under control, you’d solve so many problems. There are days when I know I can’t go in the shop because it’s way too hot or cold. And as you know, shop time can be a rare commodity. So walk out into your shop and take a look—what can you do to stop air infiltration, block and absorb noise, block the sun’s radiant heat, and keep in your shop’s warm air in the winter

 Page 1 of 3  1  2  3 »