Written By Bobby. On May 12. In Design Process,Starting? Go here!
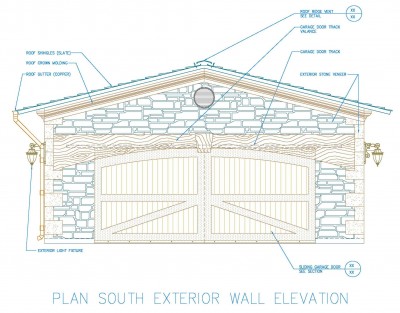
You don’t need your drawings to be polished magazine specimens; they only need to be able to communicate to yourself as to what to build. I drew this to figure out what I’d like my ideal shop exterior to look like. I’ll keep this theme for my lumber storage & finishing outbuilding.
I get it. Your shop evolved randomly, and is now an accumulation of stuff you bought or made as you needed them. You’ve been so busy making stuff that things are the way they were.
You’ve even made whole projects on the fly, with few drawings, or maybe just a rough sketch on a post-it note you put in your pocket for later.
However, to really optimize your shop for yourself, it’s got to be built over time in design. Otherwise you’ll forget all the ideas you had while thinking about it.
What’s the Purpose of Working on Design Documents?
The cool thing about a design is that it’s cumulative in nature—it builds on itself. You can use your high-energy, creative time to do your thinking in a session, then pause to do other stuff. Then you can come back to it, edit what you’ve done, and add some more. At some point, you’ll be ready to build.
Ultimately, the reason to bother creating special documents (lists, drawings, outlines, etc.) is to record your brilliant ideas and information you accumulate from perusing magazines, tool sites, and blogs.
You can take the details and presentation as far as you want.
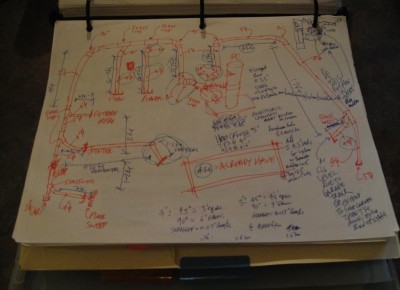
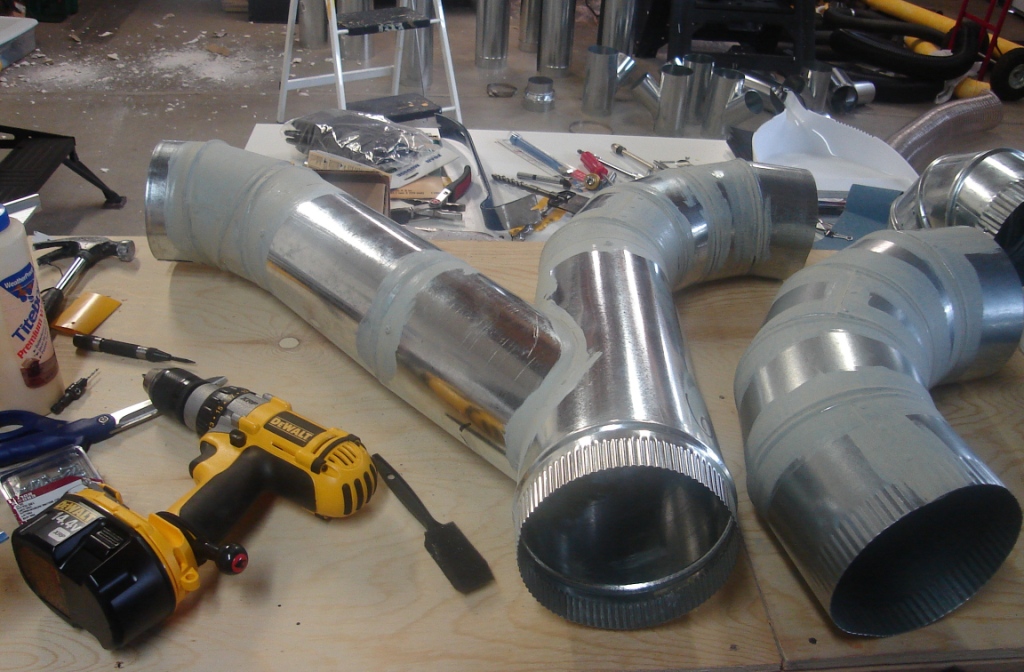
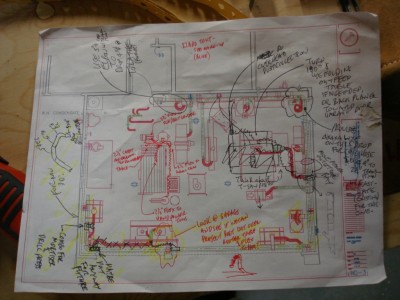
This is what I took with me when I bought my dust collection ductwork; it didn’t need to be pretty obviously...
Communication to Yourself
Your Woodshop Design is really just a communication to yourself as to how you’ll build it. Then you can use that either to do it all yourself or sub out parts of it to a contractor.
Go with the flow of how you think when you put this thing together. Do you think in lists and specifications or pictures and graphics?
If you’re visual, you can cut out pages from magazines and print photos from websites, then organize them into a binder. These will serve as guides as you build.
You can sketch stuff, even if you aren’t good at drawing. The way to cover that is to do the best sketch-thing you can, then write notes all around it with arrows to describe details of what you drew (in case you can’t interpret it later).
Lists are easy; I usually start with a mindmap to put things in categories. Then you can add criteria to each subtopic until you feel it’s complete.
I find all of the following helpful to include in my design documents:
- Mindmap
You really can’t imagine doing this; you just have to try it. Start with a topic, say Dust Collection, write those words in the middle of the page and put a circle around it. From there, draw radial lines (branches) from that central circle. Write subtopics all around, like system types, air cleaner, ductwork, accessories, and things like that. Draw circles around each subtopic. Now draw branch-lines around those subtopics, and list your ideas and requirements within those categories.
- Outline
I take my mindmaps and turn them into outlines when they’re done if it’s for a big project, like my whole woodshop design. The mindmap gets you to think in a visual way, and I have an easier time separating all my thoughts into topics.
- Lists
Your outline is really just an organized list. But for small things, you can write a list of your criteria, such as what you want in a bandsaw. You can read reviews in magazines, Amazon.com, Rockler, or in blogs and start listing what you want in that tool. Then you can make sure the one you buy has all those features. You can also make a list of all the products you want to buy, say related to sanding or fastening…
- Tasklists/ Order of Operations
Say you’re building something specific as part of your woodshop design. You have your list of requirements (specs), some drawings, and reference pictures. You can take it further by writing a tasklist, in order of each action you want to take to give yourself the gift of step-by-step instructions while you can think clearly in advance.
- Drawings
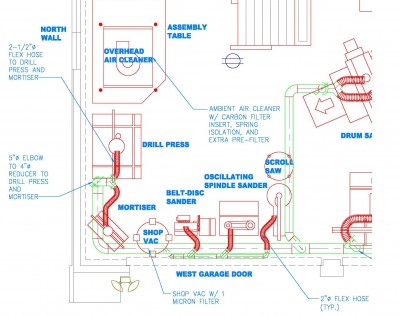
Planning things like layouts, wall elevations, cabinet placement or storage drawer arrangement, dust collection duct routing, compressed air pipe routing, or electrical circuit layout, there’s nothing like a drawing to let you see the possibilities and obstacles to work around.
- Appendix and References
I have this at the end of my Woodshop Design binder. It contains the miscellaneous stuff, reference photos I cut out of magazines and print from websites, and on-the-fly sketches I haven’t translated into formal drawings.
Here is a handy PDF, which is the design process I use. You can use this as a guide to create your own design. If you go to the Resources, Guides, & Glossary page you’ll find more of these PDF’s to help you organize your thoughts for your woodwork shop.
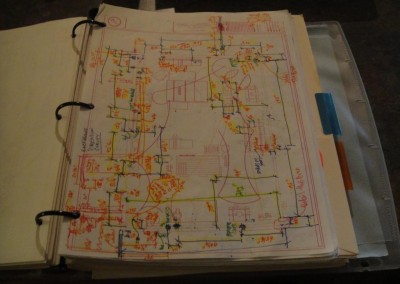
I wrote the dimensions in red pen, then picked up the revisions in AutoCad, and highlighted each one as they were done.
Drawing Quality
Your drawing doesn’t have to be presentable to someone else. It’s only got to be good and complete enough for you to refer to it later.
One drawing can be general in nature, such as a floor plan, then you can refer to detail drawings such as the lumber rack design. Or with furniture, the overall piece is drawn, then you refer to a detail drawing of an inlay or bowed drawer front.
To totally “cheat”, you could cut out pictures then paste text to describe what you’re planning. If you find a workbench you really like, describe what you like about this one and what you’d change.
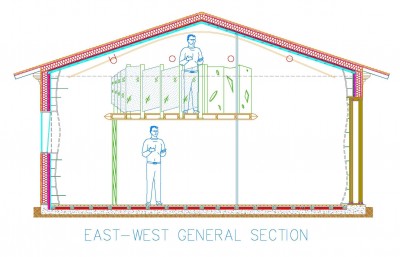
I did this section view study to see if I had enough room for a loft/ balcony in the shop. On the left underneath the loft platform is a ladder.
Rinse and Repeat (Again)
You can run through this process for each category of your design. Maybe your biggest issue is comfort due to the heat and cold. Start by mindmapping the problem, your solutions, and leave room for some researched ideas. As you come to a better idea of what you’ll do, you can start sketching your wall insulation layers, gas pipe routing for your new heater, etc.
Then you can tackle your shop tool layout, storage at each station, security, lighting, it’s endless (but don’t make it that way…).
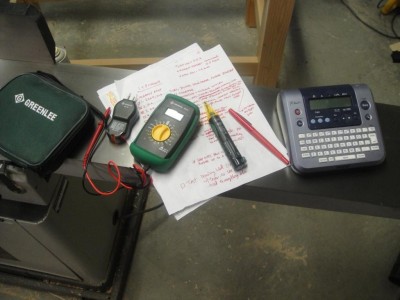
WoodChip Tip: Use a red pen to edit/ mark up your lists and drawings. When you’ve incorporated these corrections into your revised document, use a yellow highlighter to color over the redmarks. This indicates to you that you’ve “picked up” the revisions already. I like this method because I can print out a checklist, take it out to my shop and mark it up, then go back to my computer and edit. By highlighting what’s been done, I can stop in the middle and return without worry.
For more guidance in assembling your Woodshop Design, click on the Starting? Go Here! category and read those first.
Connect with me on Facebook, and follow me on Twitter for more ninja tips to Optimize Your Woodshop!
Gotta get more clamps,


 How I went from a cluttered and disorganized shop to a super-productive layout with a convenient dust collection and electrical set-up.


